A new workspace has one person in it: you, the Owner. These five steps take it from empty to something your team can use, in the order that saves going back.
Before you start
You need the Owner account you signed up with, or a System Admin's. Everything below is in the Management Console.
Set it up
Start a trial, if you have not already. The account you sign up with becomes the workspace Owner. Start a trial.
Add your locations. Open Locations under Administration and choose Add location for each office, site or warehouse.
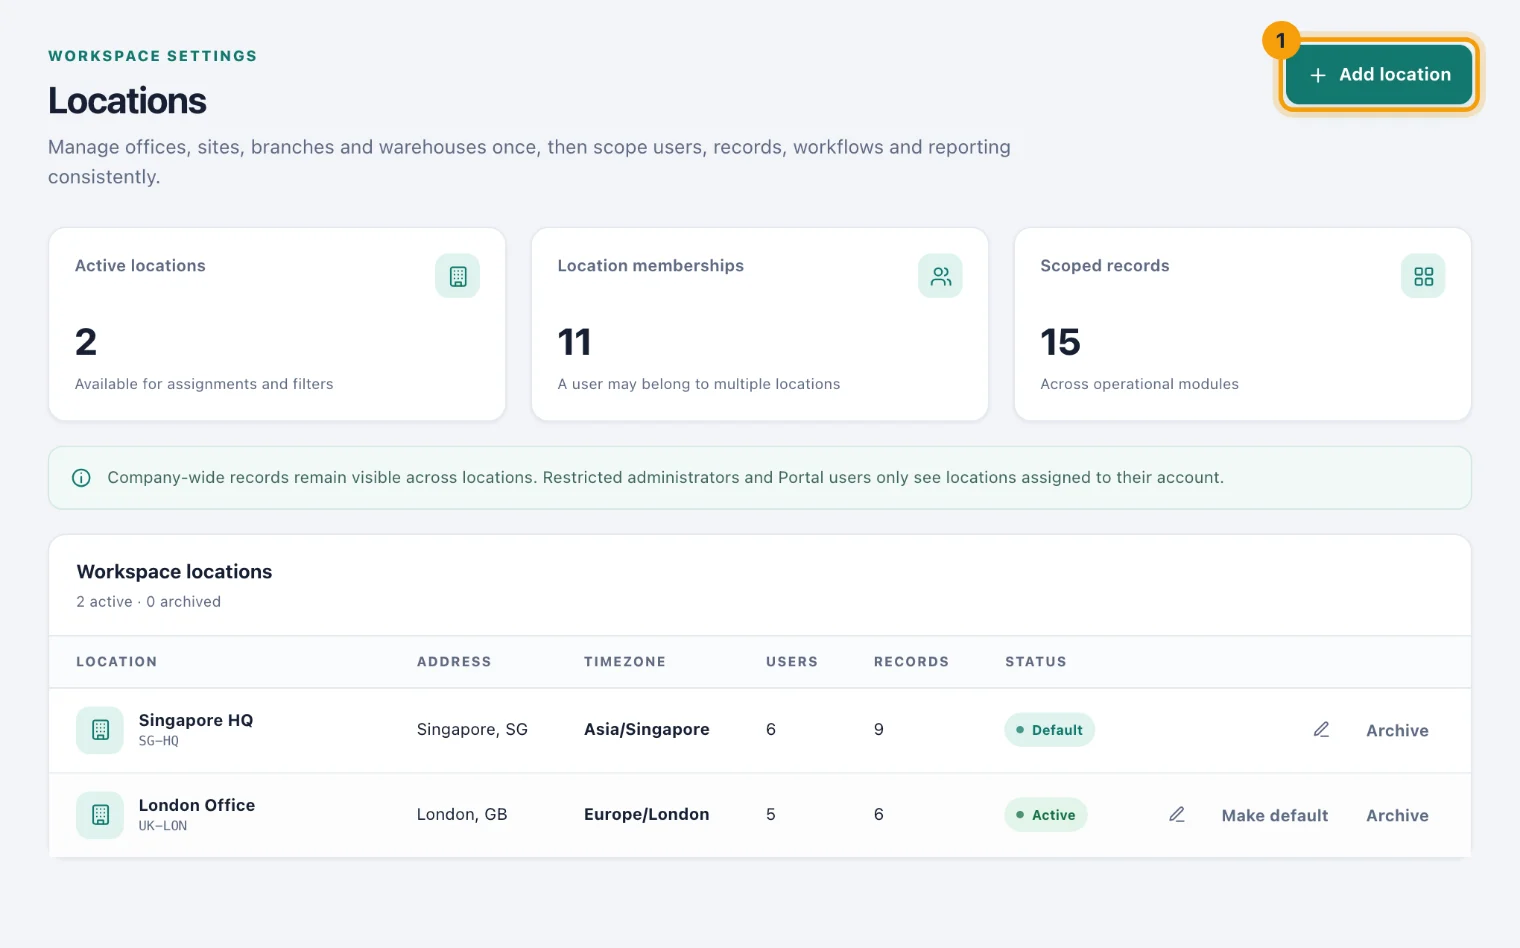
Locations: add each place your company works from. Invite your administrators. Open People & access and choose Invite user. Give them a Console licence and start with the Admin role. You can narrow what they may do later with scoped access.
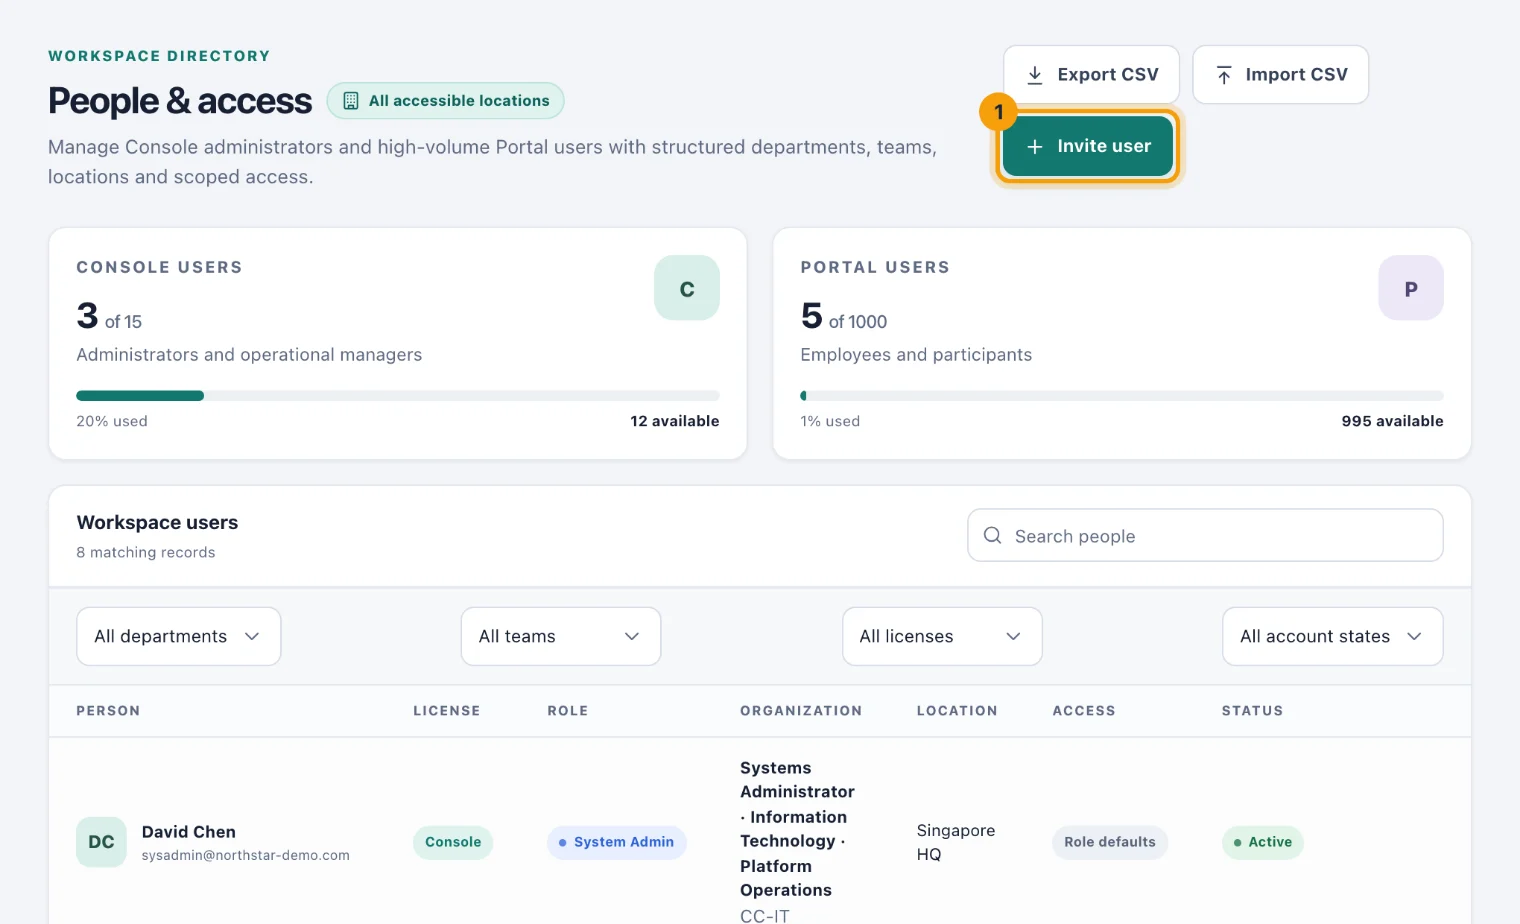
People & access: Invite user adds one person; Import CSV adds many. Bring in everyone else. Import CSV on the same page adds people with their department, team, manager, job title, cost centre and location. Most of them want a Portal licence.
Put one real thing in. One contract with a genuine renewal date, or one policy assigned to one department. A deadline that is actually approaching shows people what the product is for.
What next
Choose the apps your workspace uses in the App catalogue: see The apps. Then read Licences and roles before you invite more people, so each gets the access they need and no more.